Suppose two people paint a picture of the same scene. Both know how to draw equally well. Both know how to paint equally well.
But one one of the pictures just “looks better.” What could be causing the difference?
If it isn’t the artists’ drawing skills or their painting skills, it might be their composition skills - the way the parts of the picture are placed in the picture space. One easy way to improve composition skills is to use:
The Rule of Thirds
For example, look at these two pictures, and decide which one looks more pleasing to you.


People using the composition tool called "The Rule of Thirds" would agree with you if you chose the picture on the left. What makes this image more pleasing? It’s because the picture on the left follows the Rule of Thirds.
The Rule of Thirds is quite simple, and this is how you use it.
-
Divide a picture into thirds, both horizontally and vertically,
-
The most interesting places on the picture are,
-
Along the two horizontal lines,
-
Along the two vertical lines, and
-
Anywhere where two lines meet.
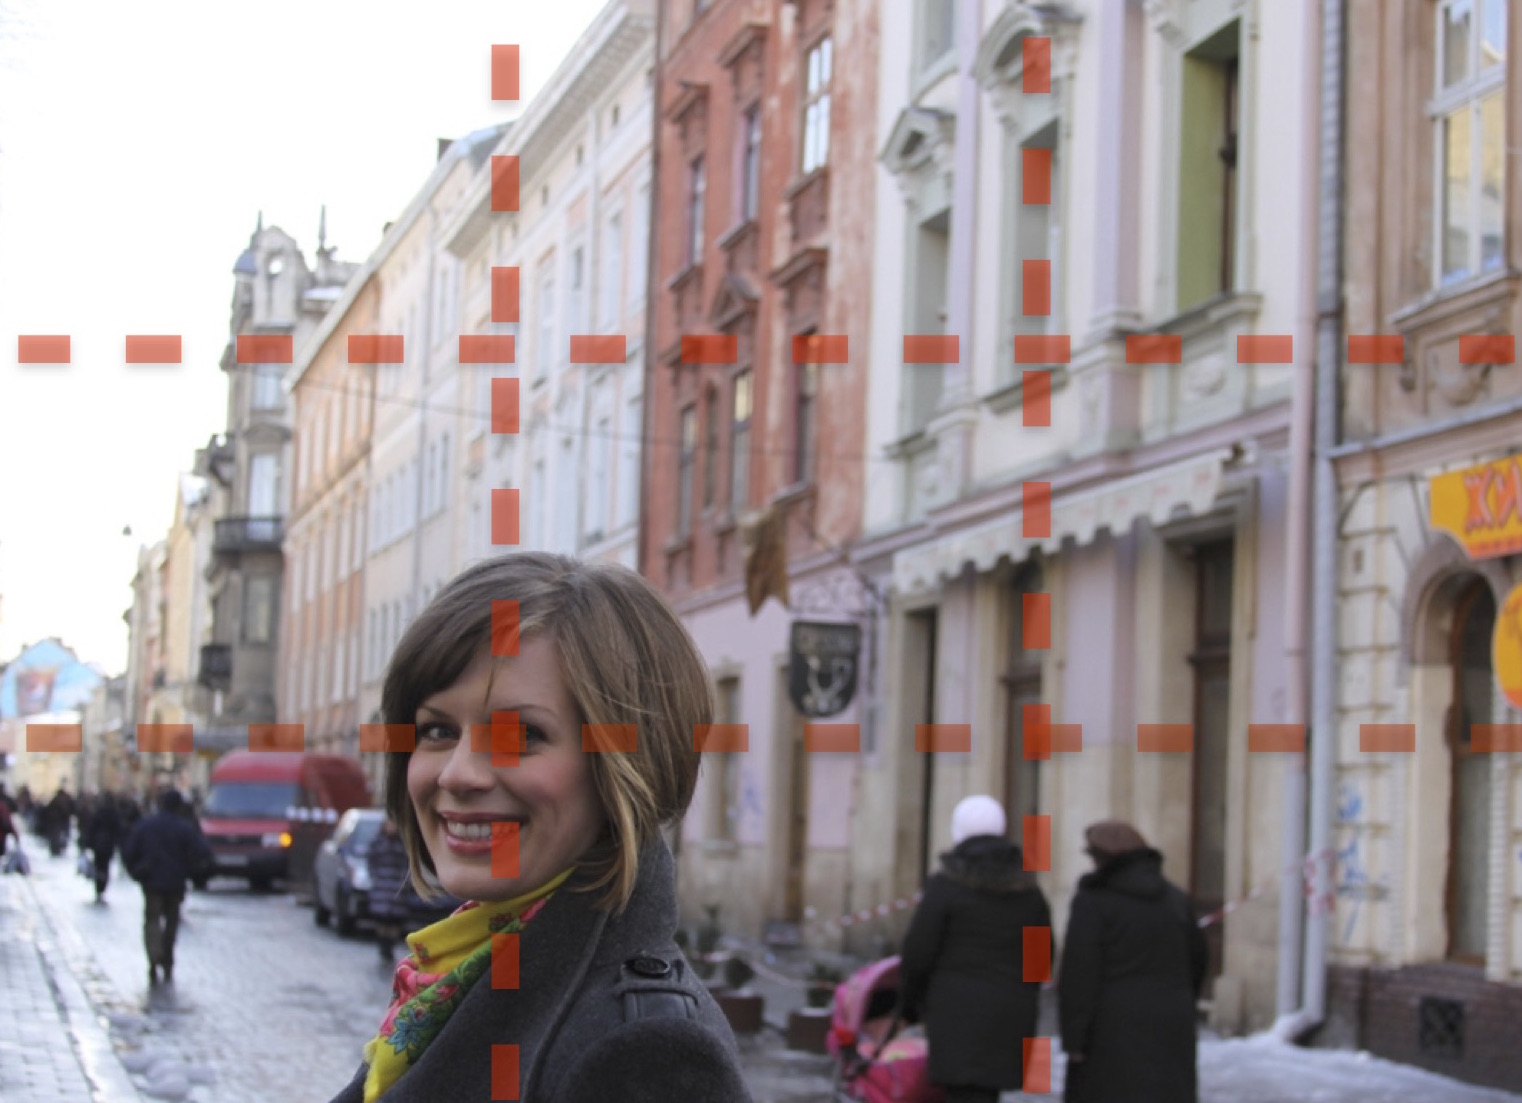
So let’s look at the two pictures once again. What happens if we apply the Rule of Thirds to the picture on the left?
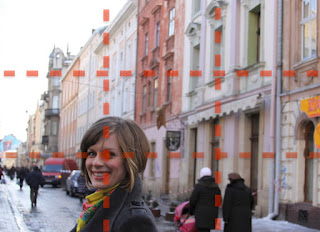
We see that the central figure’s eye (one of the most interesting parts of any face) is at the intersection of two lines. Furthermore, the head and body are aligned along one of the vertical lines.
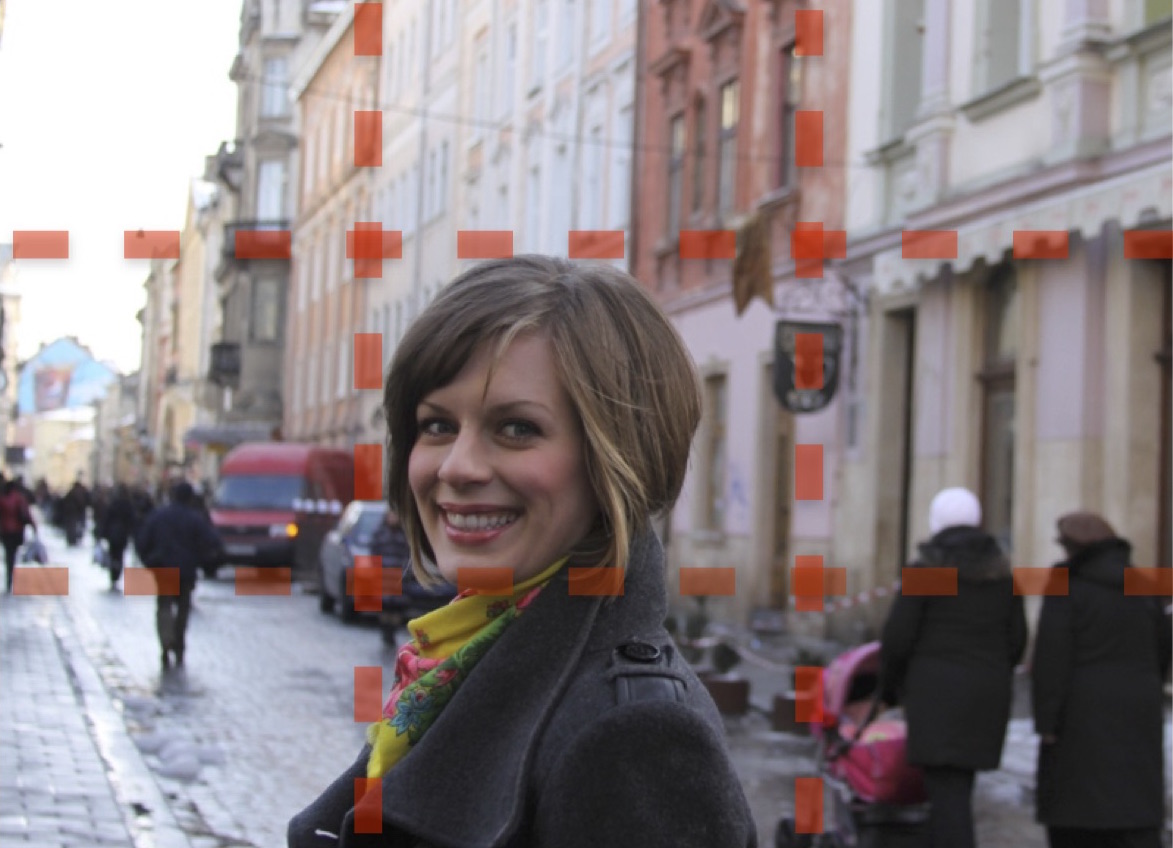
If we apply the same rule to the picture on the right, we see that the central figure is in the middle of the picture, and not aligned with any lines or intersections.

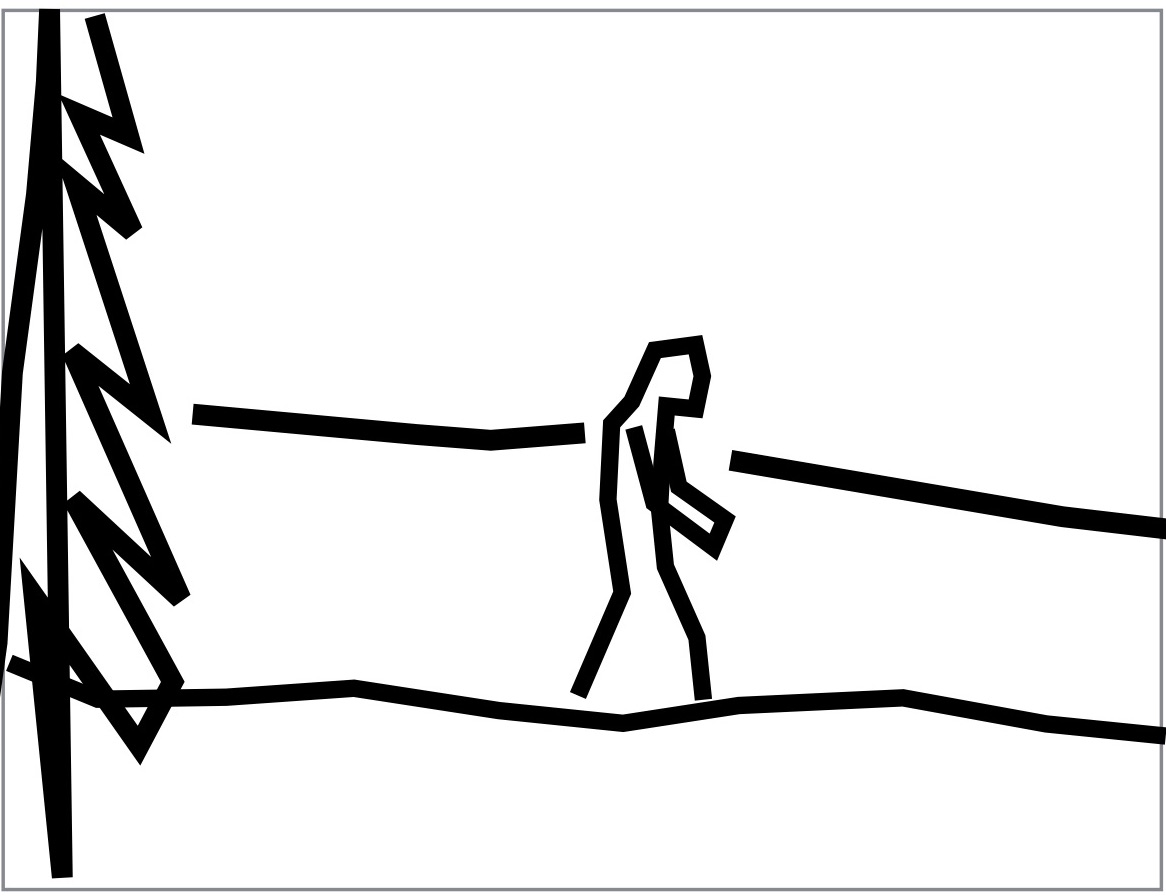
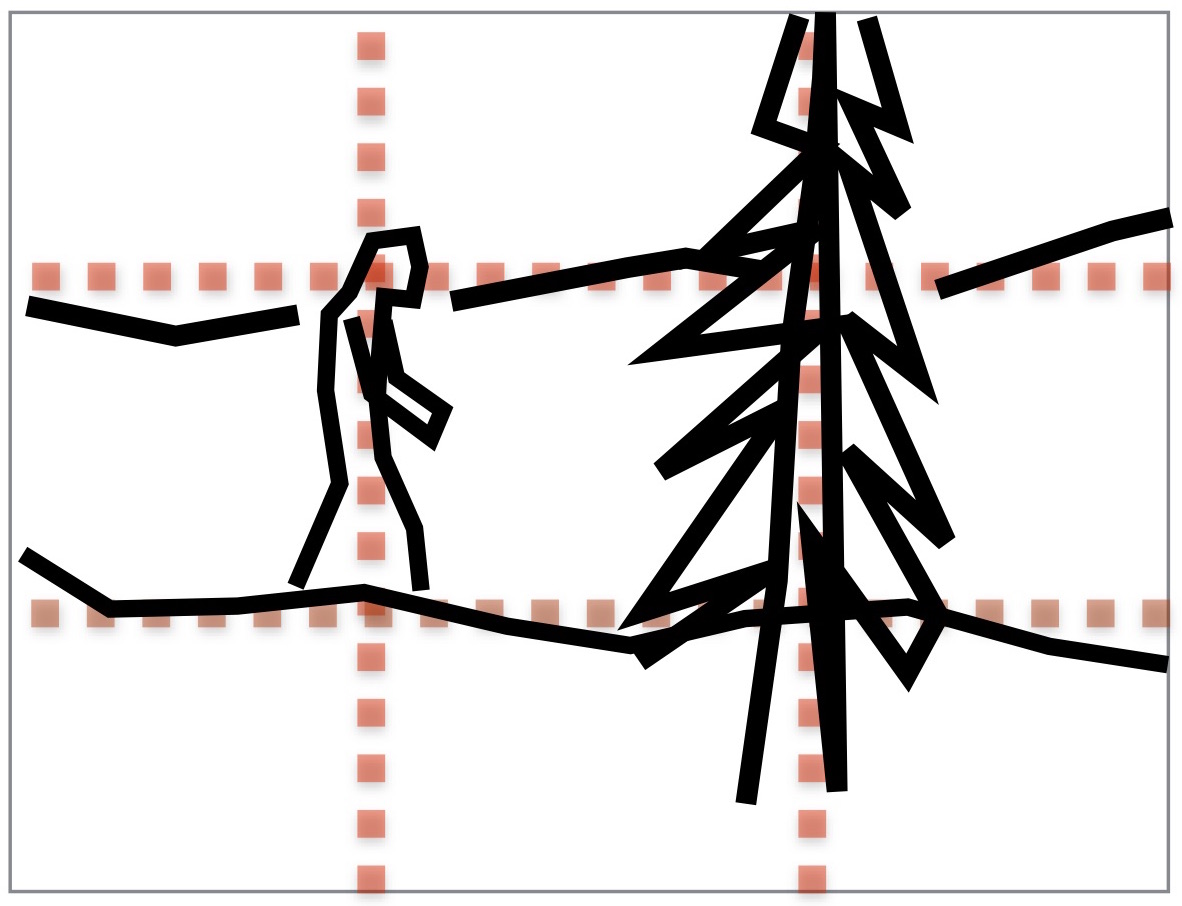
So how does one apply this information when designing a piece of art? One way is to begin by plotting the lines of the Rule of Thirds lightly on the blank canvas/paper before starting.

Then roughly sketch in the major elements of your picture, using the Rule-of-Thirds lines as your guide.

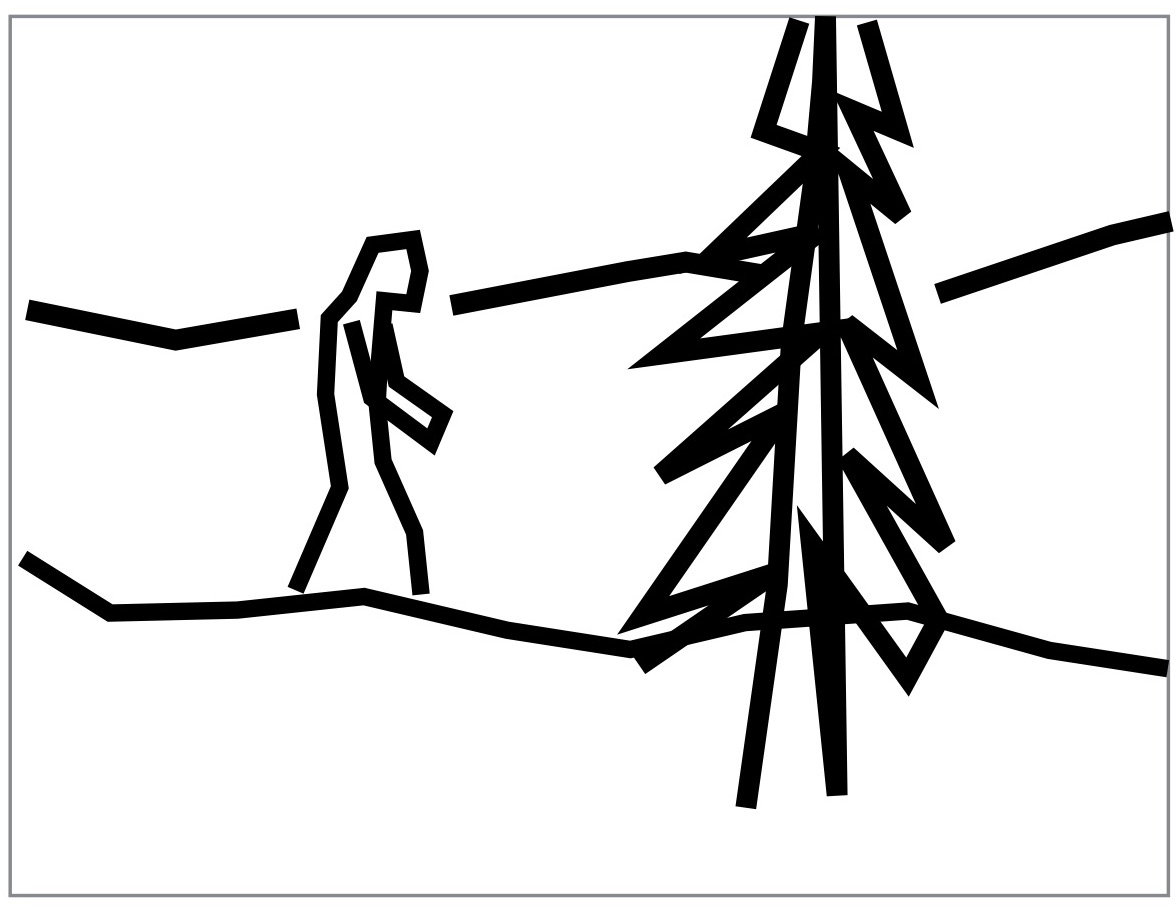
Once the roughing in is finished, you can go on to finish your picture. You can see the difference the rule makes by comparing these two rough sketches.


Learn more about the rule of thirds and practice using it with ArtAchieve’s art lesson The Canada Goose.
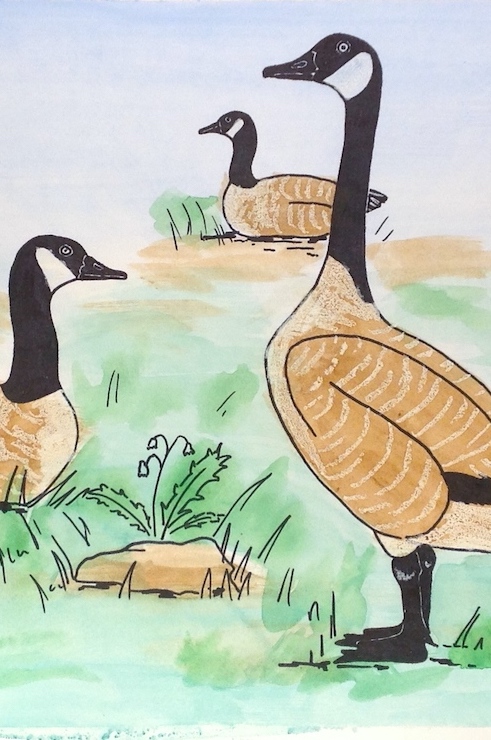
You’ll arrange a flock of geese into a pleasing composition while using the Rule of Thirds.
Suppose two people paint a picture of the same scene. Both know how to draw equally well. Both know how to paint equally well.
But one one of the pictures just “looks better.” What could be causing the difference?
If it isn’t the artists’ drawing skills or their painting skills, it might be their composition skills - the way the parts of the picture are placed in the picture space. One easy way to improve composition skills is to use:
The Rule of Thirds
For example, look at these two pictures, and decide which one looks more pleasing to you.
People using the composition tool called "The Rule of Thirds" would agree with you if you chose the picture on the left. What makes this image more pleasing? It’s because the picture on the left follows the Rule of Thirds.
The Rule of Thirds is quite simple, and this is how you use it.
-
Divide a picture into thirds, both horizontally and vertically,
-
The most interesting places on the picture are,
-
Along the two horizontal lines,
-
Along the two vertical lines, and
-
Anywhere where two lines meet.
So let’s look at the two pictures once again. What happens if we apply the Rule of Thirds to the picture on the left?
We see that the central figure’s eye (one of the most interesting parts of any face) is at the intersection of two lines. Furthermore, the head and body are aligned along one of the vertical lines.
If we apply the same rule to the picture on the right, we see that the central figure is in the middle of the picture, and not aligned with any lines or intersections.
So how does one apply this information when designing a piece of art? One way is to begin by plotting the lines of the Rule of Thirds lightly on the blank canvas/paper before starting.
Then roughly sketch in the major elements of your picture, using the Rule-of-Thirds lines as your guide.
Once the roughing in is finished, you can go on to finish your picture. You can see the difference the rule makes by comparing these two rough sketches.
Learn more about the rule of thirds and practice using it with ArtAchieve’s art lesson The Canada Goose.
You’ll arrange a flock of geese into a pleasing composition while using the Rule of Thirds.