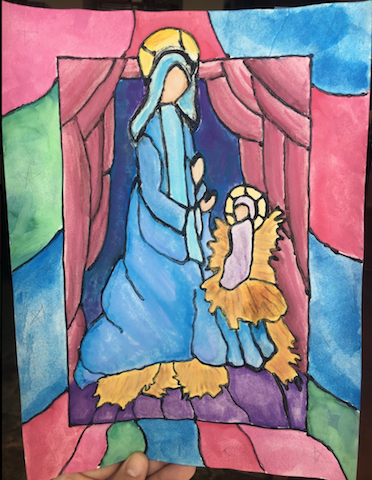
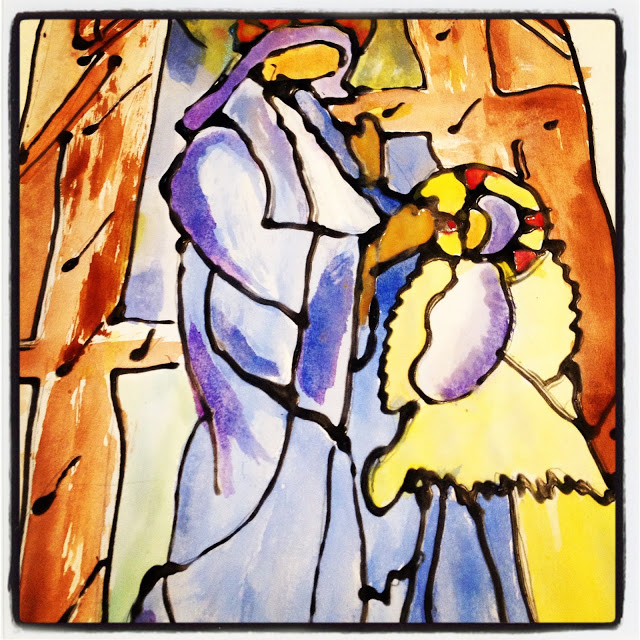
Level IV-Art Lesson 8: The Stained Glass Nativity Window
Learn to choose between an analogous and a balanced palette, and draw a human figure
The lesson is suitable for students in grade 6 through adult.
Art Lesson Description:
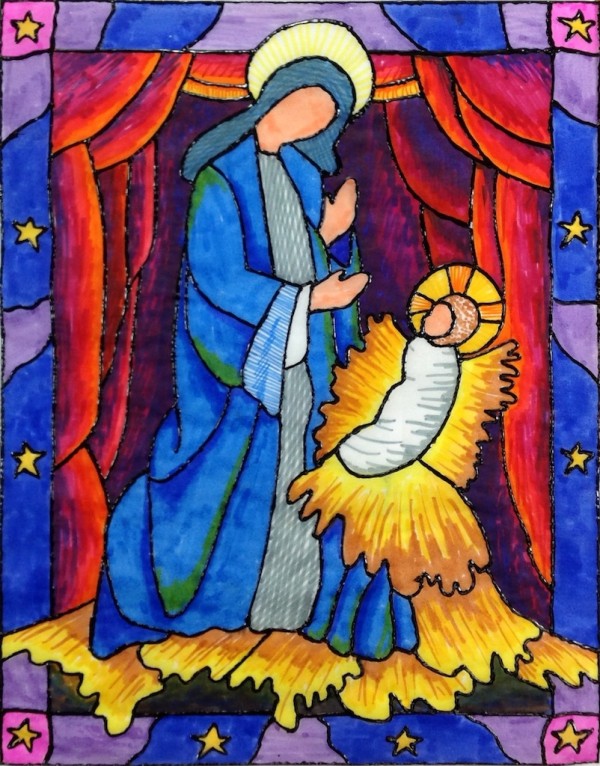
Stained glass may be a medium that’s too expensive for amateur artists, but that needn’t stop one from making an imitation of stained glass on paper! This lesson offers two ways to do this.
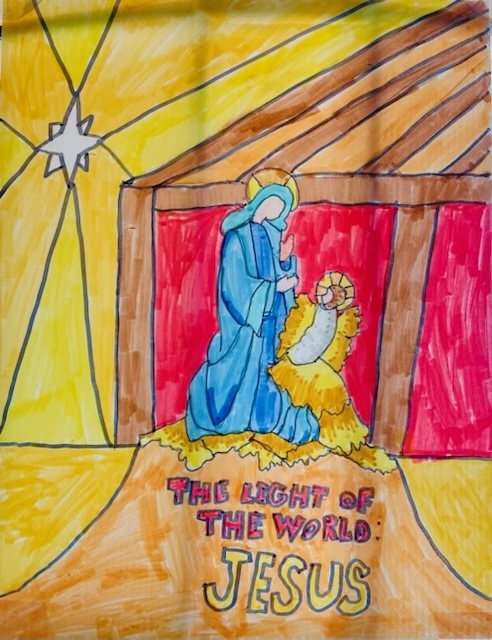
In the MARKER version,
- We begin with a large piece of vellum (11” x 14”), the translucent paper that some people call tracing paper.
- We color it with washable makers—cheap in cost, and surprisingly versatile on the vellum!
- Once the picture is colored, we put in the “lead” lines with dimensional paint.
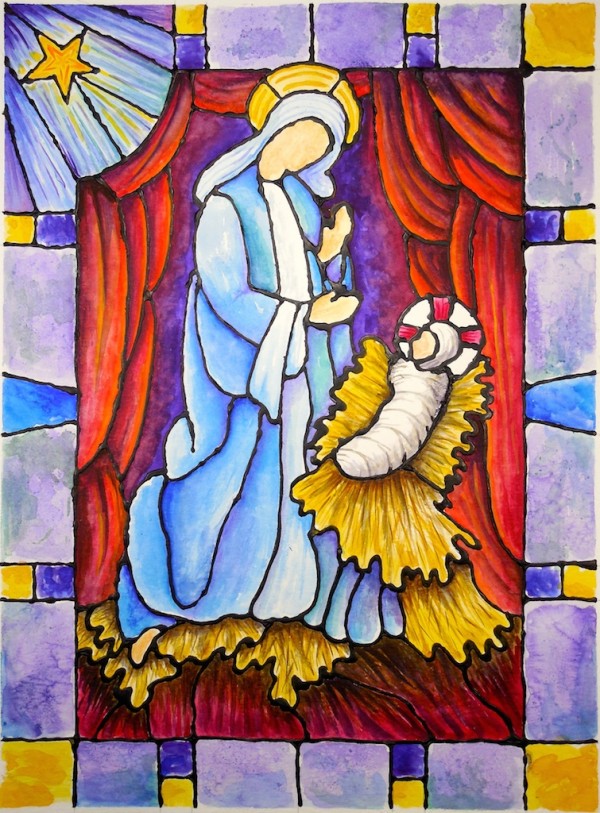
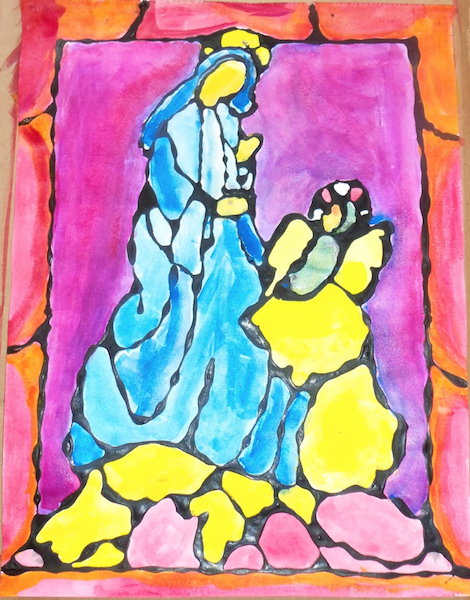
In the watercolor version,
- We draw the picture on watercolor paper.
- We redraw the lines with a mixture of glue and black paint.
- Then we learn to use several layers of paint to create complex coloring for the "window."
Either way, you get a stained glass effect. WE like the watercolor version better, since the colors are much more complex. But don't worry--you can try both versions for the price of one!
The lesson offers the following challenges:
- Choosing either a balanced palette to create harmony, or an analogous palette to create a mood (given the limited range of colors in a marker set, the balanced palette is easier to work with).
- Exploring the possibilities offered by using washable markers on vellum, or using layers of watercolor on watercolor paper.
- Drawing a simplified human figure.
- Learning about narrative art.
This lesson includes both 2 POWERPOINT and 1 VIDEO version of the lesson plus 2 downloadable printouts: a warmup and a drawing of the window.
Learn Watercolor Techniques for Beginners by clicking here.
List of Supplies for Each Student
Marker Version
- 1 copy of the stained glass warm-up (this is included with the lesson)
- 1 HB or #2 pencil
- 1 fine tipped permanent black marker
- 1 sheet of 11” x 17” or 11” x 14” vellum, or two 8.5" x 11" sheets of vellum taped together on the back side.
- 1 set of washable colored markers (a set of 20 colors is better)
- Masking tape
- White glue (to be mixed with black paint) or black dimensional paint
List of Supplies for Each Student
Watercolor Version
- 1 copy of the stained glass warm-up (this is included with the lesson)
- 1fine tipped permanent black marker
- 1 sheet of 11" x 15" watercolor paper
- 1 HB or #2 pencil
- 1 set of watercolor paint (better quality watercolor here)
- Masking tape
- White glue (to be mixed with black paint) or black dimensional paint
- Drawing board: (Make your own by cutting an 18" x 24" piece of 1/4" masonite)
Suggestions for Cross-Curricular Connections:
History:
- Learn the history of stained glass and how the glass and windows are made.
- Learn about Medieval Christmas celebrations (and find out where “piggy banks” came from .
- Learn about art from the Middle Ages. View online.
Music: Learn a Medieval Christmas carol (and a little Latin).
Literature:
- Read Stained Glass Summer (#ad) by Mindy Hardwick.
- Find a list of books about the Middle Ages for young adults.
Math: Use algebraic functions to create a stained glass window pattern. Find instructions at one of these three sites.
Science: Learn the characteristics of the elements that are used to color glass at these two sites.
Approximate Time to Complete the Art Class
- Warm-up: 15 minutes
- Drawing the window: 30 minutes
- Coloring the picture: 45-60 minutes
- Applying the dimensional paint for the lead effect: 30 minutes
- Total time: 120-135 minutes