Famous paintings can be powerful teaching tools:
-
They are a concrete way to introduce children to history,
-
They can give graphic representation to the world of ideas,
-
They can serve as models for student art work, and
-
They can be used to teach children to make careful observations.
But if we try to jump into making use of all this potential too quickly, we easily risk
-
Talking too much,
-
Explaining too much, and
-
Dulling student interest.
So here are a series of ways that invite students to interact with a piece of art that prepare them to ask questions and to WANT answers about history, ideas, etc.
Artists have painted in many styles, and for many purposes, so let’s start with a style and purpose that people often associate with “good” art, or “real” art. A better name would be to call this Mimetic Art. When artists practice mimesis, they try to represent nature and the world around us.
So mimetic art is simply the art style that tries to realistically represent a subject.
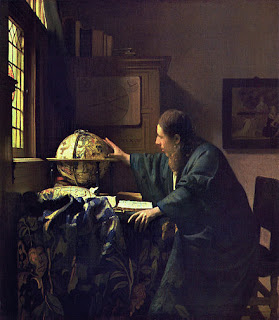
The Dutch masters of the 1500’s and 1600’s are a good example of mimetic artists, so for our example, we'll use Johannes Vermeer’s painting, The Astronomer.
|
|
|
Public Domain: https://en.wikipedia.org/wiki/Johannes_Vermeer#/media/File:J._VERMEER_-_El_astr%C3%B3nomo_%28Museo_del_Louvre,_1688%29.jpg
|
How can we build an engaging, interactive Art Lesson for Kids when we are studying mimetic art like The Astronomer?
I suggest a three-step process. You will need a picture to study, some colored pencils or markers, and paper to both write and draw on. Here's how I'd study The Astronomer, but the method could apply to any mimetic art work.
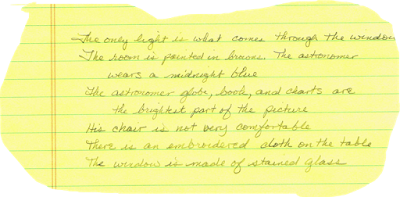
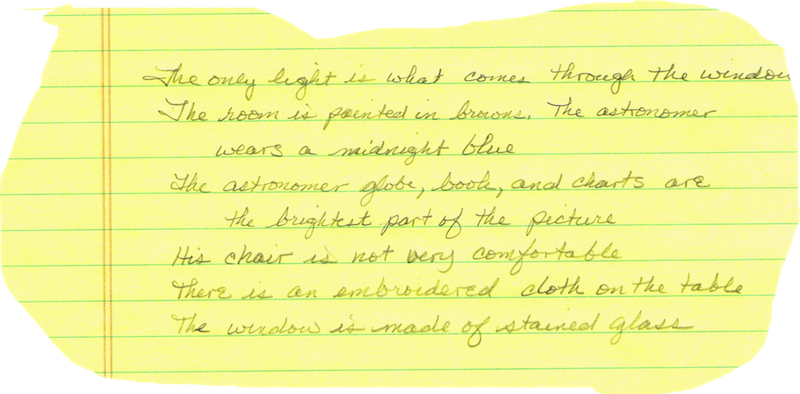
Step One: Note Taking
-
Show the picture to your students, and ask them to study it.
-
While they are looking at the picture, ask them to write down comments about everything they notice.
-
It helps to play some quiet music to fill the silence while they are studying. It will help them focus.
-
After a few minutes, let them share what they have observed.
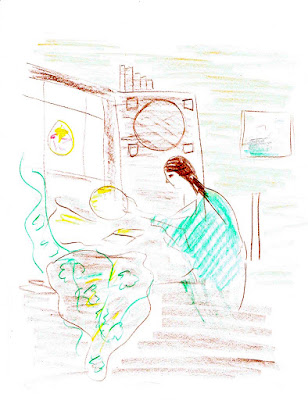
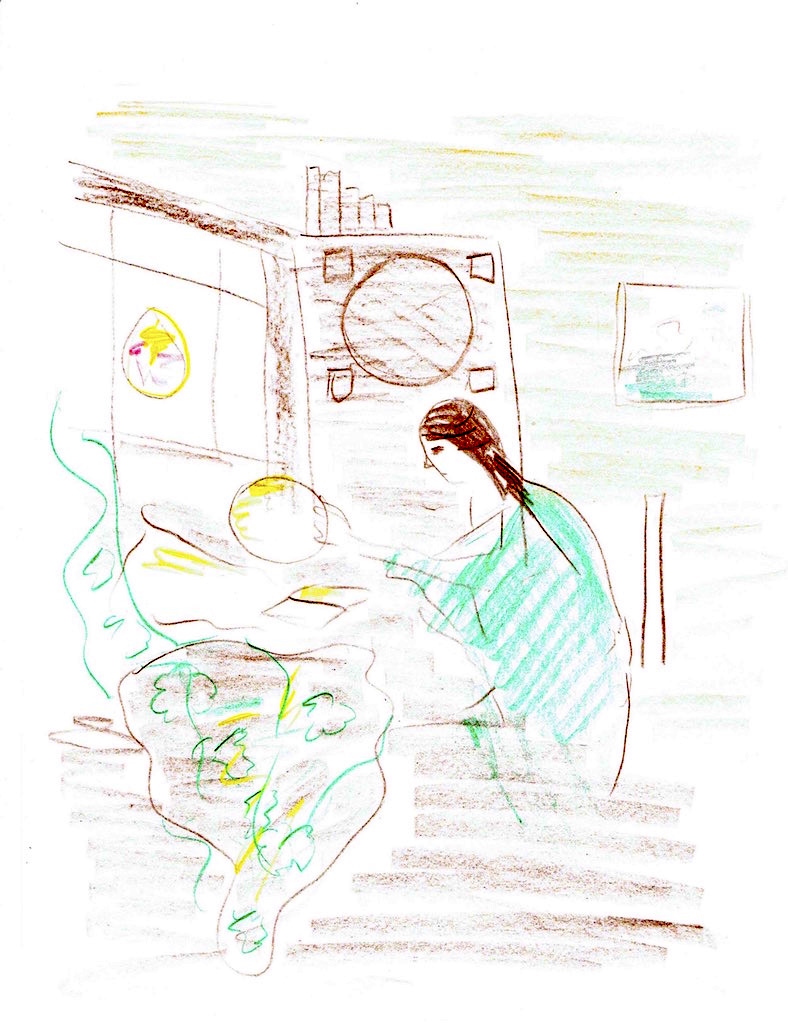
Step Two. Re-Drawing
-
Take time to look at the picture once more and memorize the picture: the colors the painter uses, the details he/she included, etc.
-
After a few minutes, remove the painting, and ask students to use their colored pencils to draw everything they remember about the painting. We don’t expect fine art at this point. Students are merely recording, in the best way they can, what they remember.
-
Again, take time to share what they remembered and recorded on paper. (Remember to focus on what they observed - not on the quality of their art. We don’t expect the notes students take on a piece of literature to sound like great literature. Neither do we expect these “art notes” to look like great art.)
-
Then show the painting again to compare students’ memories of the painting with the original art. What had they remembered? What had they failed to observe/remember?
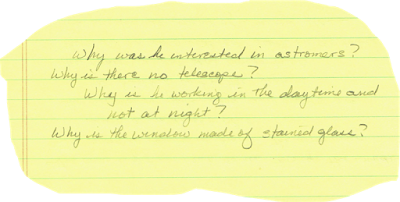
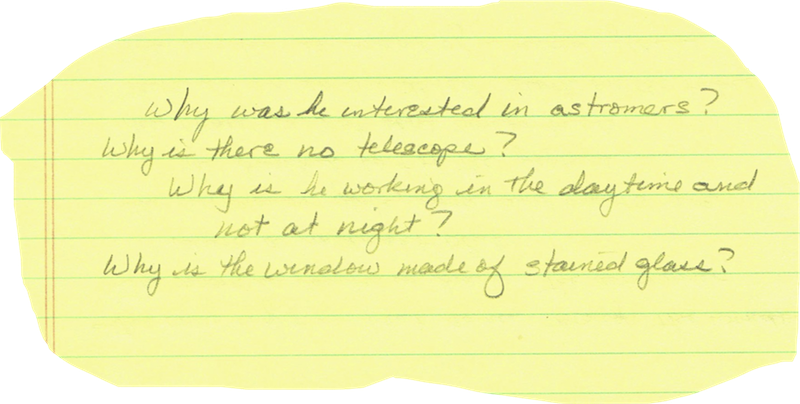
Step Three. Asking Questions.
Now that we’ve had time to look carefully at the art work, it’s time to let students ask questions. Here are two questions that will help them formulate their own questions:
-
What would you ask about this art to learn more?
-
Is this good art? (Remember, we are looking at MIMETIC art, so we will want to judge it by MIMETIC standards.) Another way to ask this question, therefore, would be to ask, “What details, etc. make this art look realistic?
Now that you have students engaged in the art, they will be ready for you to use the art as a mirror of history and of the world of ideas - and (possibly) to use the art as a model for their own art work.
Famous paintings can be powerful teaching tools:
-
They are a concrete way to introduce children to history,
-
They can give graphic representation to the world of ideas,
-
They can serve as models for student art work, and
-
They can be used to teach children to make careful observations.
But if we try to jump into making use of all this potential too quickly, we easily risk
-
Talking too much,
-
Explaining too much, and
-
Dulling student interest.
So here are a series of ways that invite students to interact with a piece of art that prepare them to ask questions and to WANT answers about history, ideas, etc.
Artists have painted in many styles, and for many purposes, so let’s start with a style and purpose that people often associate with “good” art, or “real” art. A better name would be to call this Mimetic Art. When artists practice mimesis, they try to represent nature and the world around us.
So mimetic art is simply the art style that tries to realistically represent a subject.
The Dutch masters of the 1500’s and 1600’s are a good example of mimetic artists, so for our example, we'll use Johannes Vermeer’s painting, The Astronomer.
|
|
|
Public Domain: https://en.wikipedia.org/wiki/Johannes_Vermeer#/media/File:J._VERMEER_-_El_astr%C3%B3nomo_%28Museo_del_Louvre,_1688%29.jpg
|
How can we build an engaging, interactive Art Lesson for Kids when we are studying mimetic art like The Astronomer?
I suggest a three-step process. You will need a picture to study, some colored pencils or markers, and paper to both write and draw on. Here's how I'd study The Astronomer, but the method could apply to any mimetic art work.
Step One: Note Taking
-
Show the picture to your students, and ask them to study it.
-
While they are looking at the picture, ask them to write down comments about everything they notice.
-
It helps to play some quiet music to fill the silence while they are studying. It will help them focus.
-
After a few minutes, let them share what they have observed.
Step Two. Re-Drawing
-
Take time to look at the picture once more and memorize the picture: the colors the painter uses, the details he/she included, etc.
-
After a few minutes, remove the painting, and ask students to use their colored pencils to draw everything they remember about the painting. We don’t expect fine art at this point. Students are merely recording, in the best way they can, what they remember.
-
Again, take time to share what they remembered and recorded on paper. (Remember to focus on what they observed - not on the quality of their art. We don’t expect the notes students take on a piece of literature to sound like great literature. Neither do we expect these “art notes” to look like great art.)
-
Then show the painting again to compare students’ memories of the painting with the original art. What had they remembered? What had they failed to observe/remember?
Step Three. Asking Questions.
Now that we’ve had time to look carefully at the art work, it’s time to let students ask questions. Here are two questions that will help them formulate their own questions:
-
What would you ask about this art to learn more?
-
Is this good art? (Remember, we are looking at MIMETIC art, so we will want to judge it by MIMETIC standards.) Another way to ask this question, therefore, would be to ask, “What details, etc. make this art look realistic?
Now that you have students engaged in the art, they will be ready for you to use the art as a mirror of history and of the world of ideas - and (possibly) to use the art as a model for their own art work.
.jpg)

